Services
We provide industry proven performance and stability.

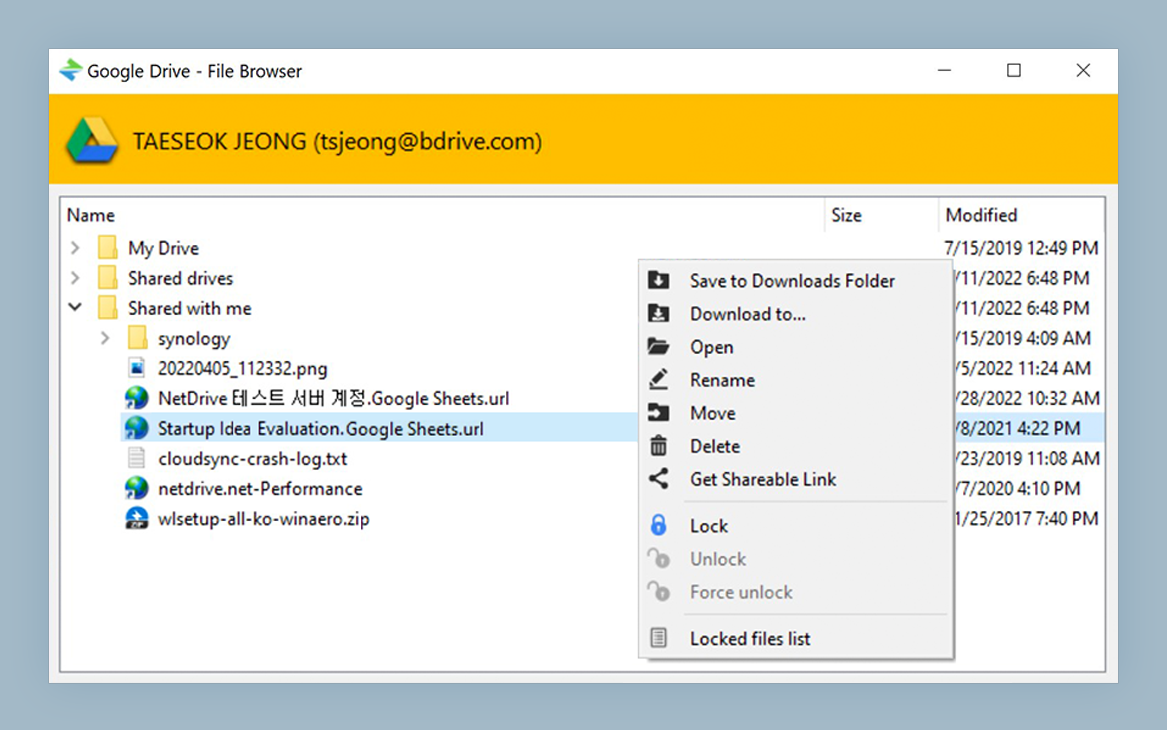
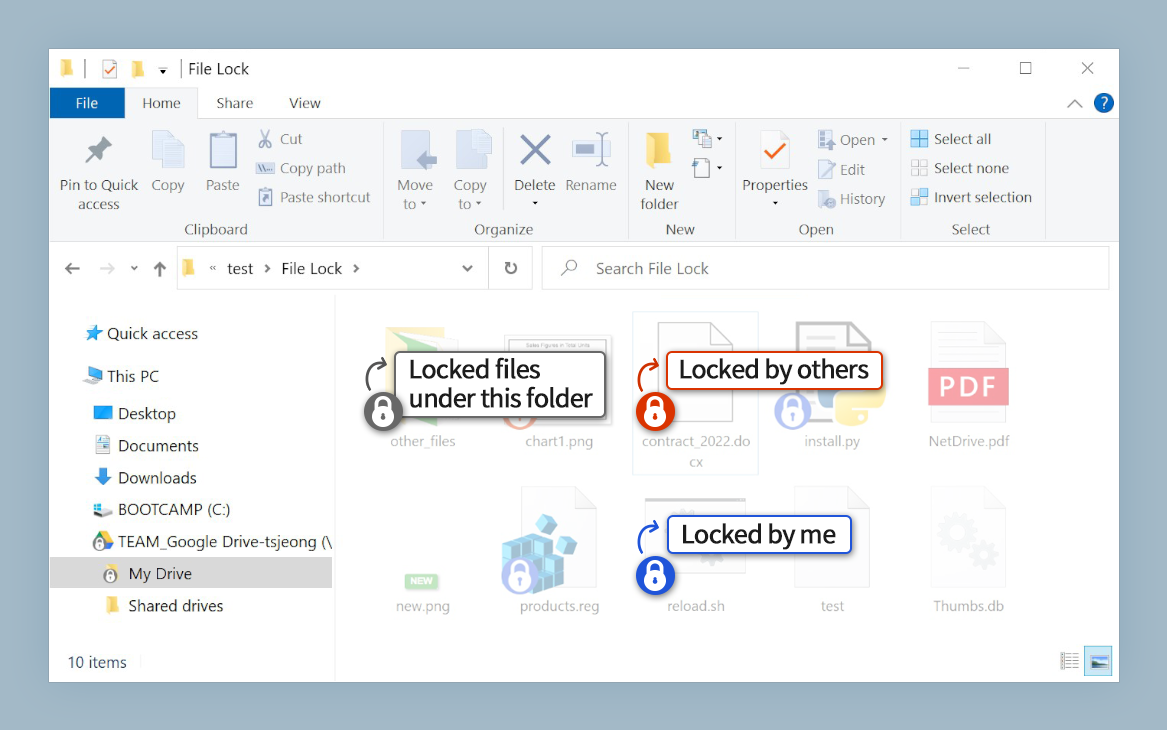
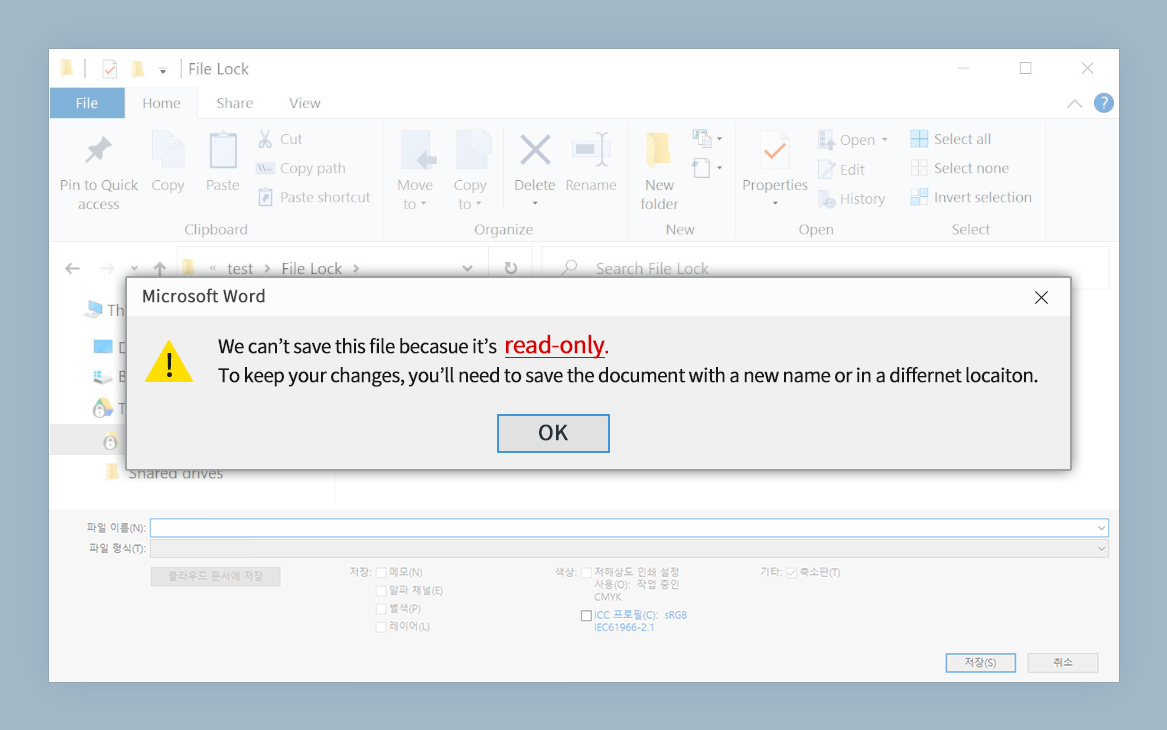
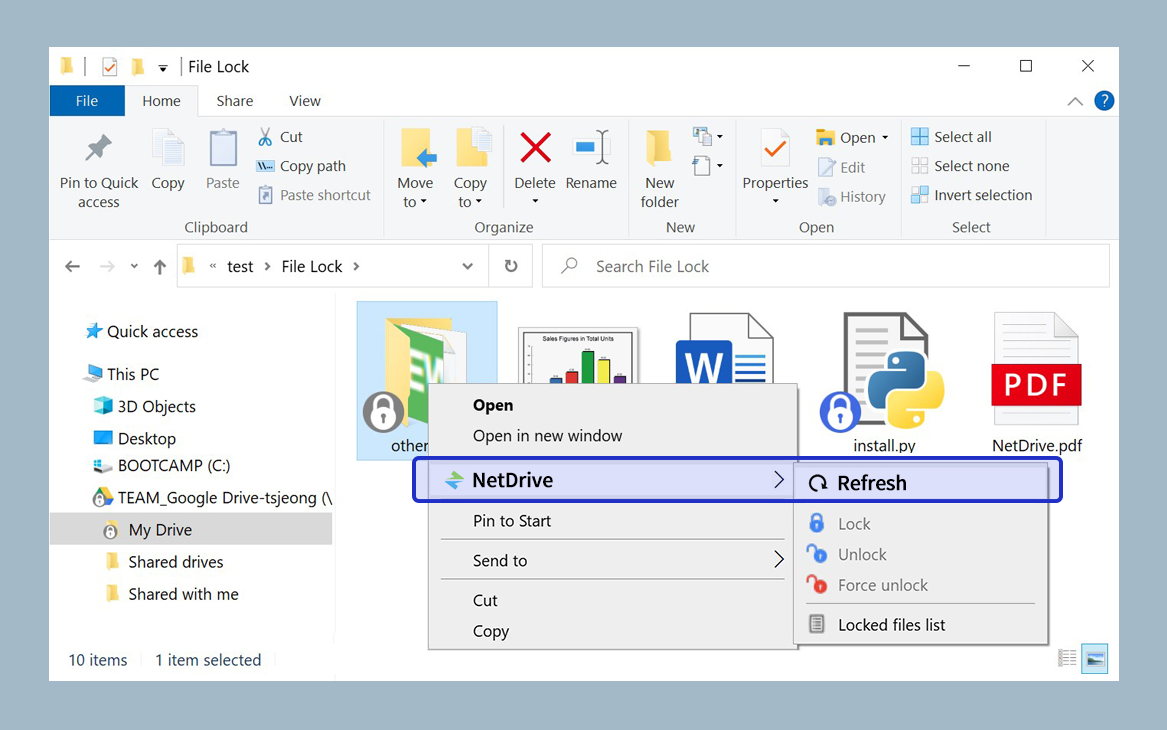
File Lock for All files
When you are editing an file, other users will only be able to open the file in read-only mode until you finish editing the file. Do not worry about your files being overwritten by other users.
For more information click here

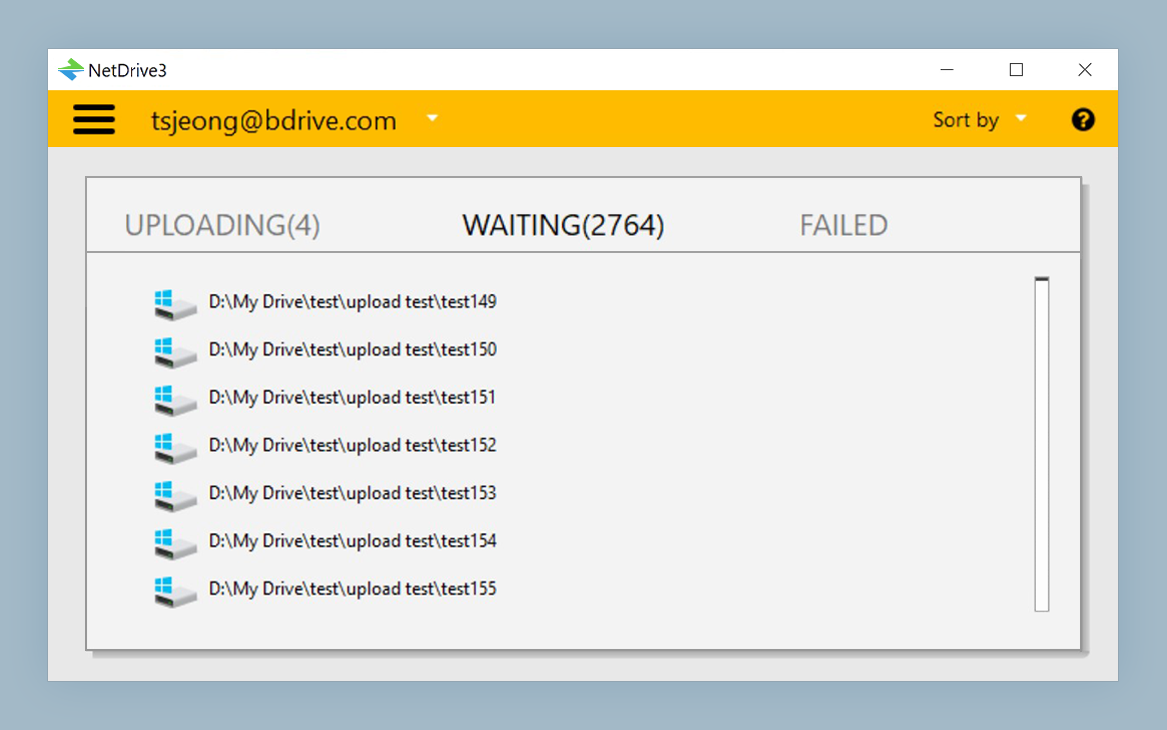
Background Uploading
Turn on background uploading and your files will be uploaded using background process. If you have many small files to upload this feature will save you lots of time.

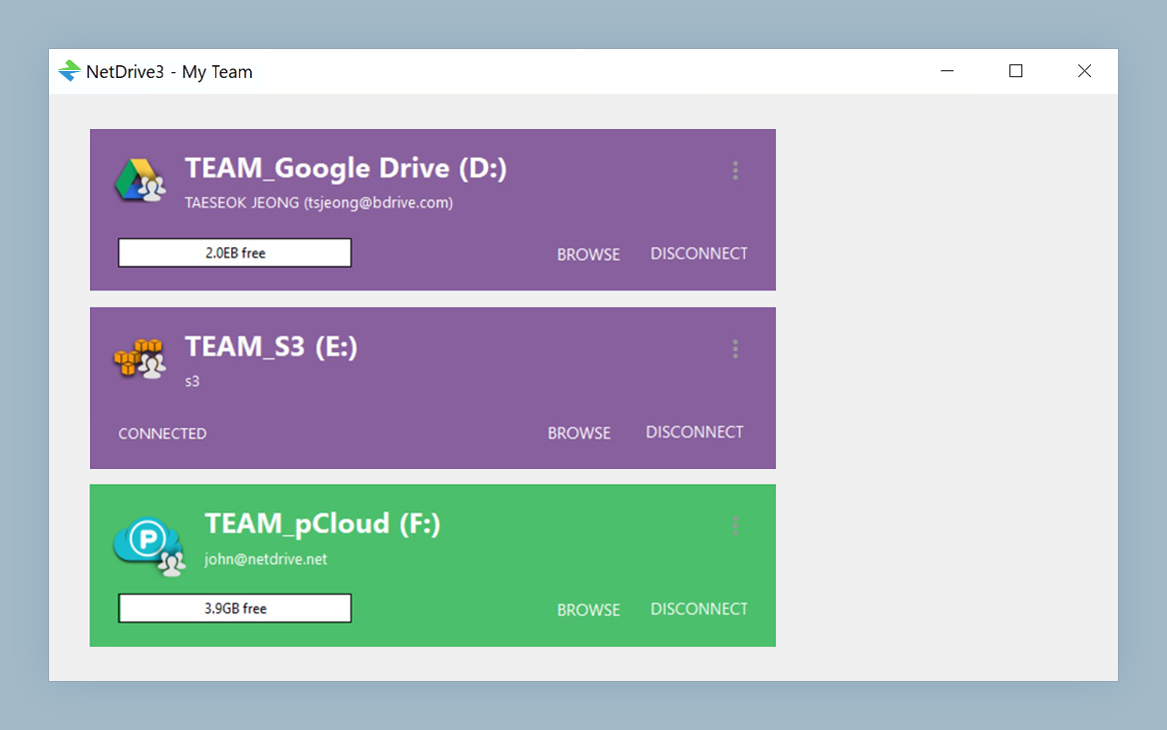
Manage Your Team
With team plan you can manage your team license. You can easily assign/unassign NetDrive license to your team members. Team plan also provides team drives to share same remote storage for all members. File lock works for team drives, too.